Designing a Charm Bracelet - My Journey
Designing a Charm Bracelet
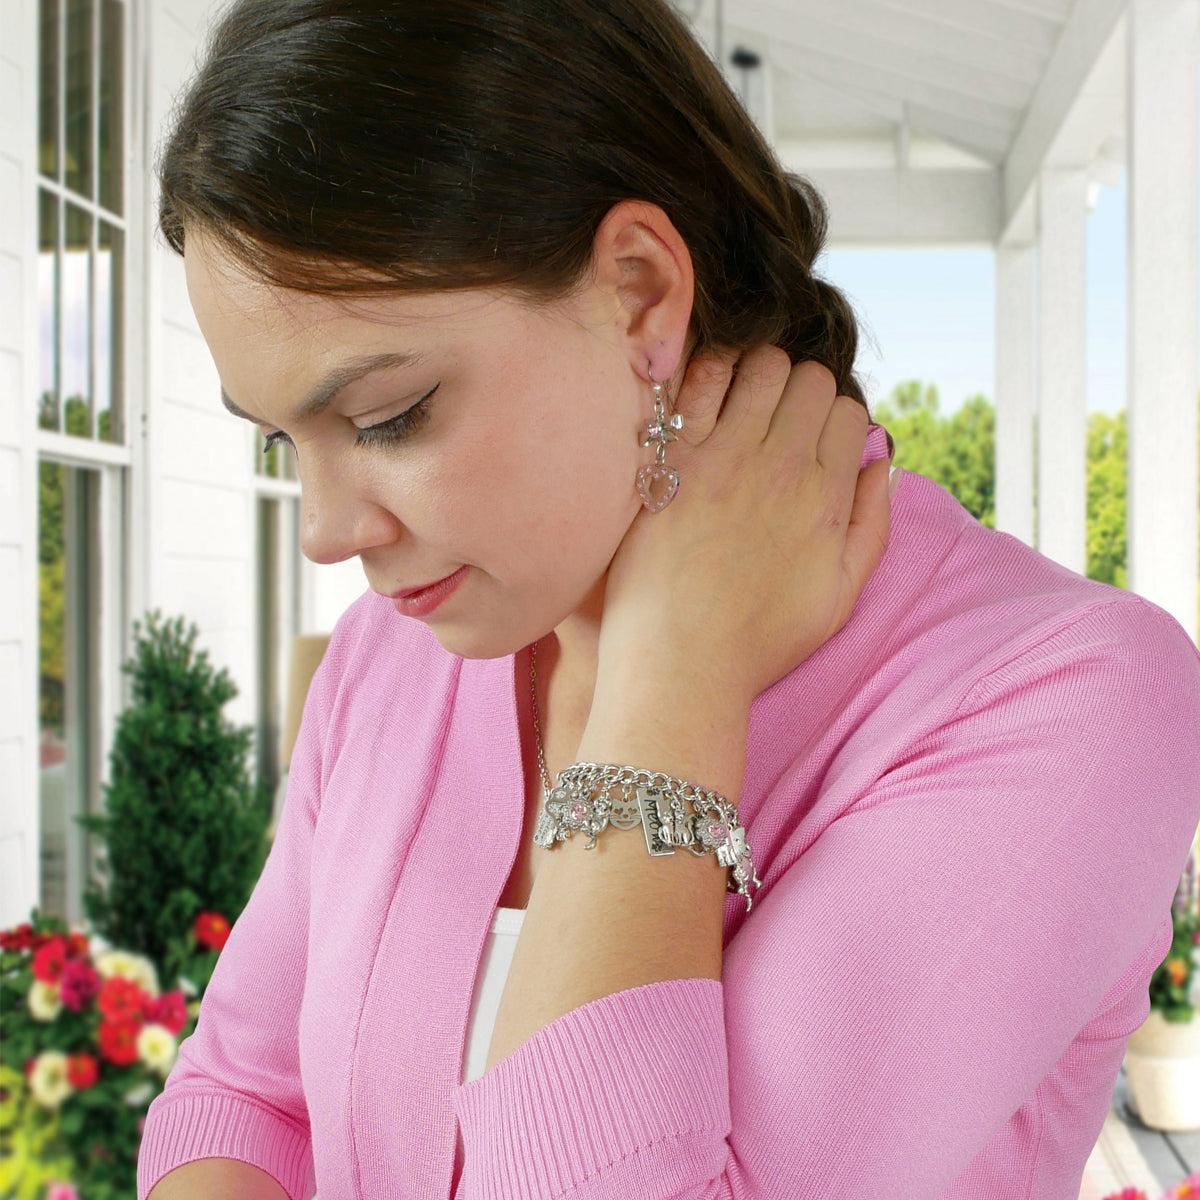
Did you know when I first started to create charm bracelets 24 years ago I wanted to create bracelets that my customers would love, they had to be comfortable, lightweight, and last for years? I looked to the vintage charm bracelets of the 1930's - 1960's and purchase several through estate sales. My sister and friends wore these bracelets for months and gave me lots of feedback. I questioned were they meeting my high expectations of what a charm bracelet is? Would they wear for years? Were they comfortable?
We have a Clear Winner and it's the 1940's!
More and more the 1940's-1950's bracelets were turning out to be the best The 1930's chains were too thin, the 1960's charms too large. I doubled down and purchased a few more vintage pieces from the 1940's-1950's. Then my engineering brain kicked in and I disassembled these bracelets to find the components that worked the best.
- How did the chain lay on the wrist?
- Did the charms twist or turn?
- Would the clasps move around or become unhooked?
- Were the clasps large enough and easy to get on and off?
- Were the charms too small or too large?
- What was the counter-weight of the pieces?
- I wanted to make the bracelets adjustable?
- Most importantly, what materials were needed?
I looked at clasps, counter weight of the piece, size of charms, safety chain, materials used, jump rings, head pins, and a formula started to develop. A year later I had the materials that I wanted to source. Yet I didn't know what metal to use and had not worked up my design from sketches. I had worked extensive in sterling silver for years, but the cost was far to high for these retro charm bracelets. The sterling vintage charm bracelet I was purchasing from 70 years ago were upwards of $500 - $950 and only had a handful of charms. But I had other skills to master first.
Developing my Metalsmith Skills, Laser Engraving & Computer Graphics!
While I had been an artist for years and had the art skills in design, color theory, painting, sculpting and integrative art I had new skills that needed to be developed. Through art classes I learned, wire-wrapping, resin working, engraving machines, cutting metals, working with lathe's and 20 ton presses, Photoshop, Corel Draw, and Adobe Illustrator were to become my new skill set and I developed a proprietary cold enameling process for coloring charms, these all became part of my skills before I sold my first piece.
The Birth of Never Tarnish Silver™
I looked to mens jewelry to see what metal they were using. It had always been my experience that mens clothes, fashion, and jewelry were not easily disposal. Stainless seemed to be the metal in most men's jewelry. This was 1998 and little was know about using Stainless Steel in Women's Jewelry. I took my metal smithing skills and learned everything I could about 316L Stainless Steel, the properties, melting points, ability to form and contacted lots of companies for information. I was on a quest! Quickly becoming an expert I was asked to teach the use of stainless in jewelry making by top seller in the USA of Fine Jewelry Supplies. I think they got tired me calling all the time asking to talk to their experts!
Who can Make my Components in Stainless Steel?
As I decided to create in stainless steel due to the durability, sustainability, and allergy free metal, plus it was known for its non tarnish properties, but sourcing the supplies I wanted became difficult, 24 years ago factories weren't creating in this metal. It took almost 2 years to locate a stainless supplier that could develop my findings, clasps and chains from sketches and prototypes, we needed the technology to cast stainless steel. this was before the days of the 3D laser modeling.

Materials & Components, Now What?
As an artist quality lies at the heart of everything I create. Once I had my materials I needed to start my design work. Being a mixed media artist I loved the idea of taking charm bracelets and making them with 3 focal points, and came by my design rather easy, I wanted colorful, fun, and whimsical bracelets that would warm my customers hearts and bring smiles to their faces. But I didn't want these fanciful bracelets to have a childlike look. They must be fun and sophisticated. I loved the idea of vintage images from the 1890's - 1940's and just so happen to have a library of over 1 million vintage images on CD's (yes it is 1998), they were the perfect first step for my jewelry. On to crystals, freshwater pearls, and real gemstones because I knew I wanted sparkle and color. No plastics or glass in my jewelry! Then to researching each theme and locating charms to match, my final step was something that would pull my artwork together and that is the engraved charms with names, sayings and words. That was a journey in itself, learning the software, machines, lasers and getting the words just right.
The Design is Sketched ~ How do we make it a 'Work of Art'
Having study and taught color theory to students it was important that my jewelry color matched. Photoshop was a god-sent and I was able to colorize my vintage images to match my crystals, it took lots of time, but well worth the effort. Because of this you will see lots of continuity and a smooth flow throughout my bracelets. This colorizing of images really takes my bracelets from just a charm bracelet to a 'work of art'.

Of course at this point my husband needed to put his 2 cents in!
Hubby is an attorney and he insisted that I have my works, Bracelets, Necklaces and Earrings registered with certified copyrights. Welcome to tons of work getting all my information together and submitting it for Registered Copyrights. Jewelry is known for being difficult to obtain Copyrights and we expected a wait of 6-8 months for a decision. 3 Months later we got the letters saying copyrights were issued on all designs because "This was the most interesting jewelry they had seen in the last 20 years", I quote the copyright examiner. I was thrilled that a few years of work had lead to this!
Get your Discount!
Off to Fairs and the Market!
While developing my line of bracelets, necklaces and earrings I started selling to people I knew through events, church, and just right off my arm. I needed a wider audience so expanded to fine art fairs, market events and local boutiques. Most events I did sold out of my entire line and this gave me the confidence to open my first ecommerce store in 2005 and from there on to Etsy and my current website.
The business grew, and grew and grew!
I expanded my studio and started training artists to help with production. We currently have 5 artists, shipping and support staff. Our lead artist is amazing and can clearly see my vision. Most days you will find me along side my artists creating your fun jewelry or answering our phone. My passion is in developing new designs and most of my inspiration comes from idea's my customers have or color, I love color! I am always learning, changing, and improving my jewelry. Currently we are looking at refining our proprietary french enameling process and working on new chain sketches. I hope you are inspired and love what I create, and thanks for reading this long post!
![]()
New Designs, Always!
I keep a sketchbook with me and am constantly designing. Currently my new charm bracelet designs include "A Mothers Love", over 40 charms of all things mom and children, and "Take me out to the Ballgame", a vintage designed 1940's bracelet with fun images around the great American pastime. Keep up with what I am currently creating, some fun giveaways, and behind the scenes of how I create these colorful and fanciful pieces.
